Key Takeaways – How to make Cold Plunge from Freezer
Takeaway 1: Choose the Right Freezer
Finding the perfect chest freezer for your cold plunge setup is key. Whether you’re scouring online marketplaces or hitting up garage sales, make sure it fits your needs and budget. Remember, a little research goes a long way when it comes to selecting the right freezer for your DIY project.Takeaway 2: Seal it Tight
Sealing your freezer properly is essential to avoid any leaks and keep your cold plunge in top shape. Don’t forget to sand it down before applying sealants like Seam Epoxy or Pond Shield for that extra layer of protection. A little elbow grease now will save you headaches later on.Takeaway 3: Safety First, Always
When dealing with water and electricity, safety should be your top priority. Make sure to unplug the freezer before hopping in for a dip and follow all safety guidelines diligently. It’s all fun and games until someone gets electrocuted, so take those precautions seriously. Remember, creating a DIY cold plunge doesn’t have to be rocket science. By following these steps carefully and implementing some common sense safety measures, you’ll have an efficient and safe ice bath setup in no time.Our #1 Best Recommended Cold Plunge
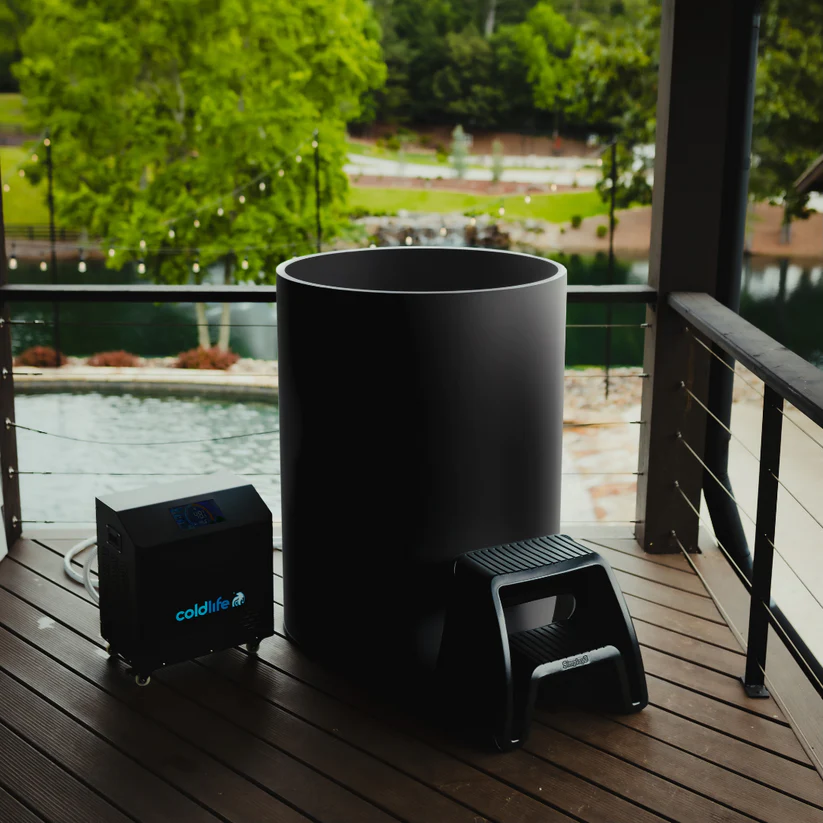
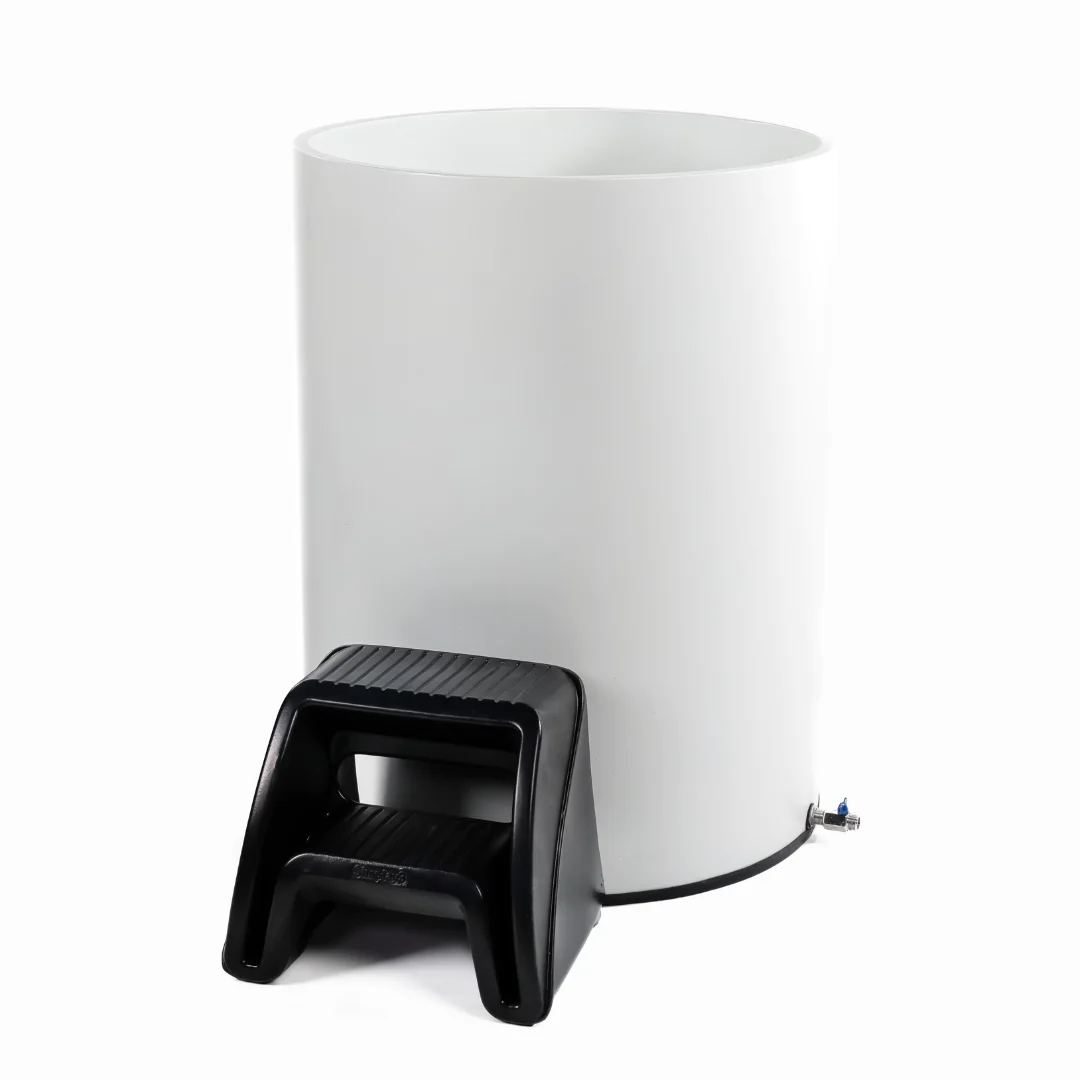
Discover the ultimate freezing experience with our ColdLife Plunge 1. If you’re looking to plunge into colder temperatures, we have bundled solutions just for you. Check out our amazing Cold Life Plunge Bundle – the perfect solution to achieve that refreshing cold immersion.Are you ready to redefine your limits with cold immersion?
Explore the compelling truth behind cold plunging and its remarkable benefits for mind and body.
Dive into the Cold Life Plunge Bundle now to embark on your journey to revitalization and strength. Transform your life today!
Here’s a Youtube Video about How to make Cold Plunge from Freezer
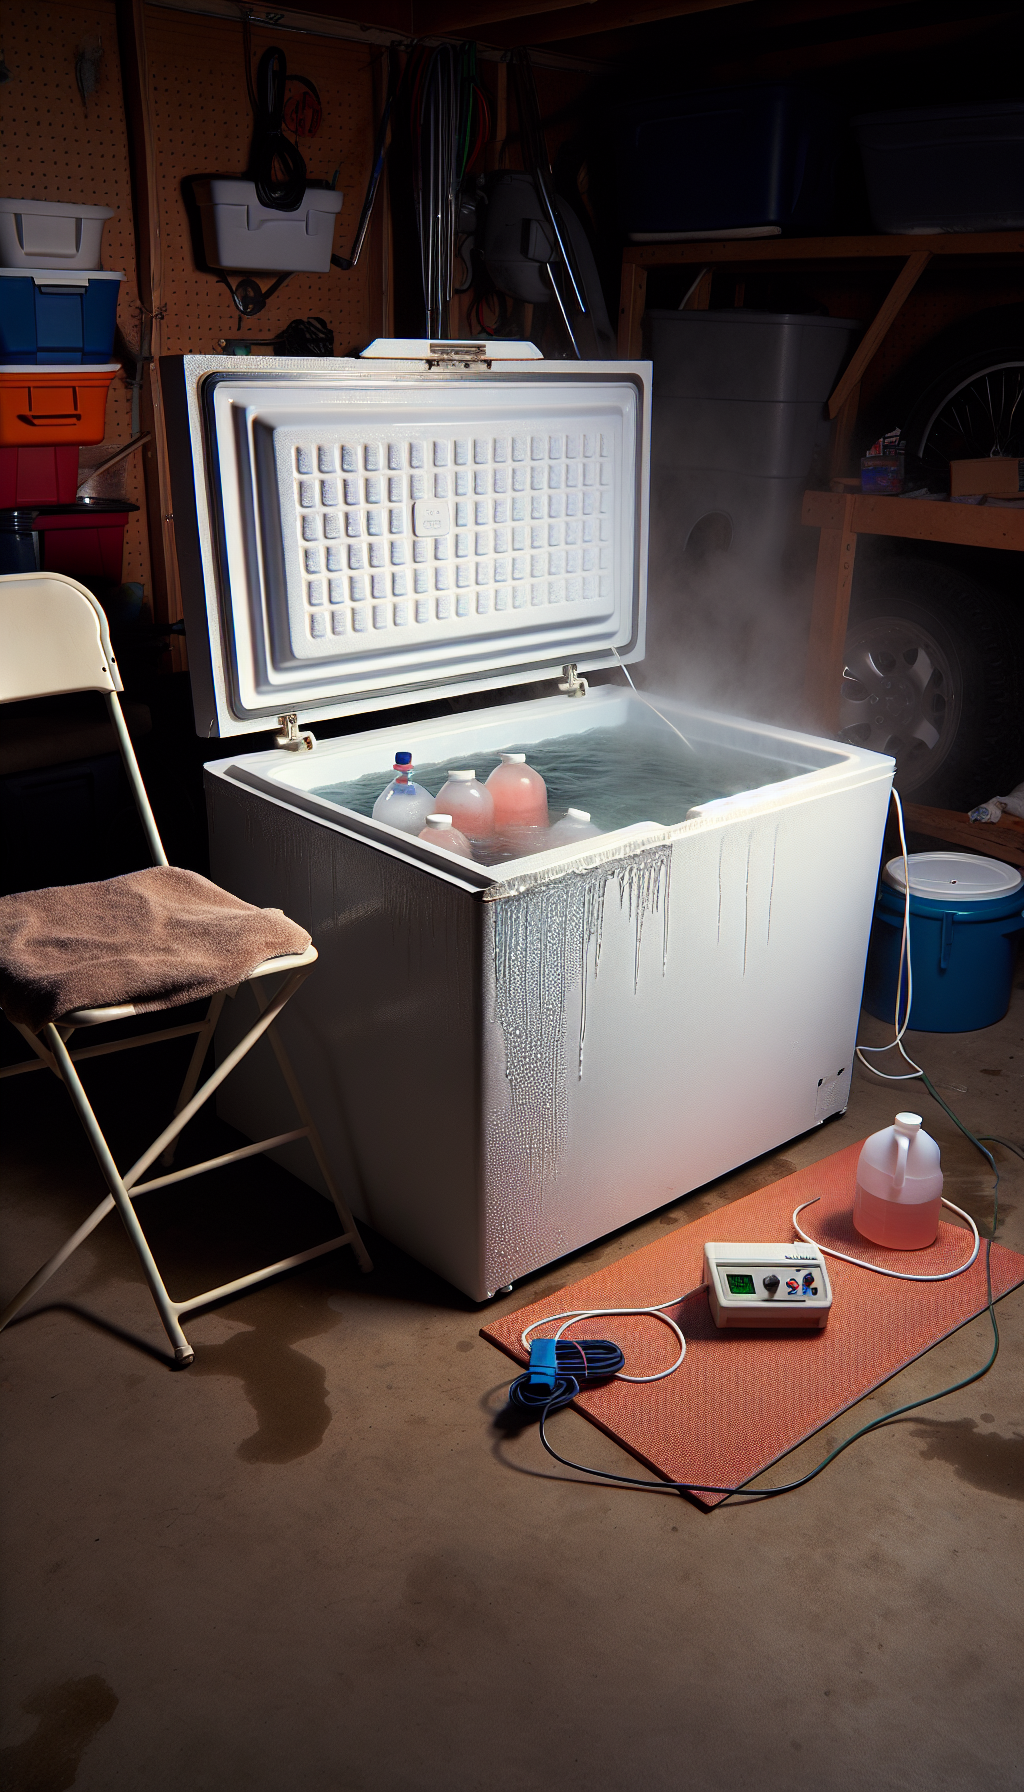
If you’re interested in learning how to make a cold plunge from a freezer, you’ve come to the right place. Firstly, selecting the right freezer and ensuring it is properly sealed is essential.
You’ll also need to consider the optimal placement for your freezer and implement an effective temperature control system for your DIY cold plunge project. Installing a filtration system is crucial for maintaining clean water, and it’s imperative to take necessary safety precautions during the process.
Your cold plunge will benefit greatly from added insulation and regular maintenance – including cleaning – will ensure its longevity. Dive into this informative post to learn more about each step of creating your own cold plunge from a freezer!
Selection of Freezer for Your Cold Plunge
Your journey to create a DIY cold plunge begins with choosing the right chest freezer. This freezer will be the base of your homemade ice bath, acting as your personal cold plunge pool. You see, the size and quality of this freezer matter as it should be suitable for your needs and budget. It can be a new one or even an old one that you are repurposing.

Download this courtesy guide to optimize your sauna and cold plunge experience and health optimization.
Download the Free Guide TodaySealing the Chest Freezer
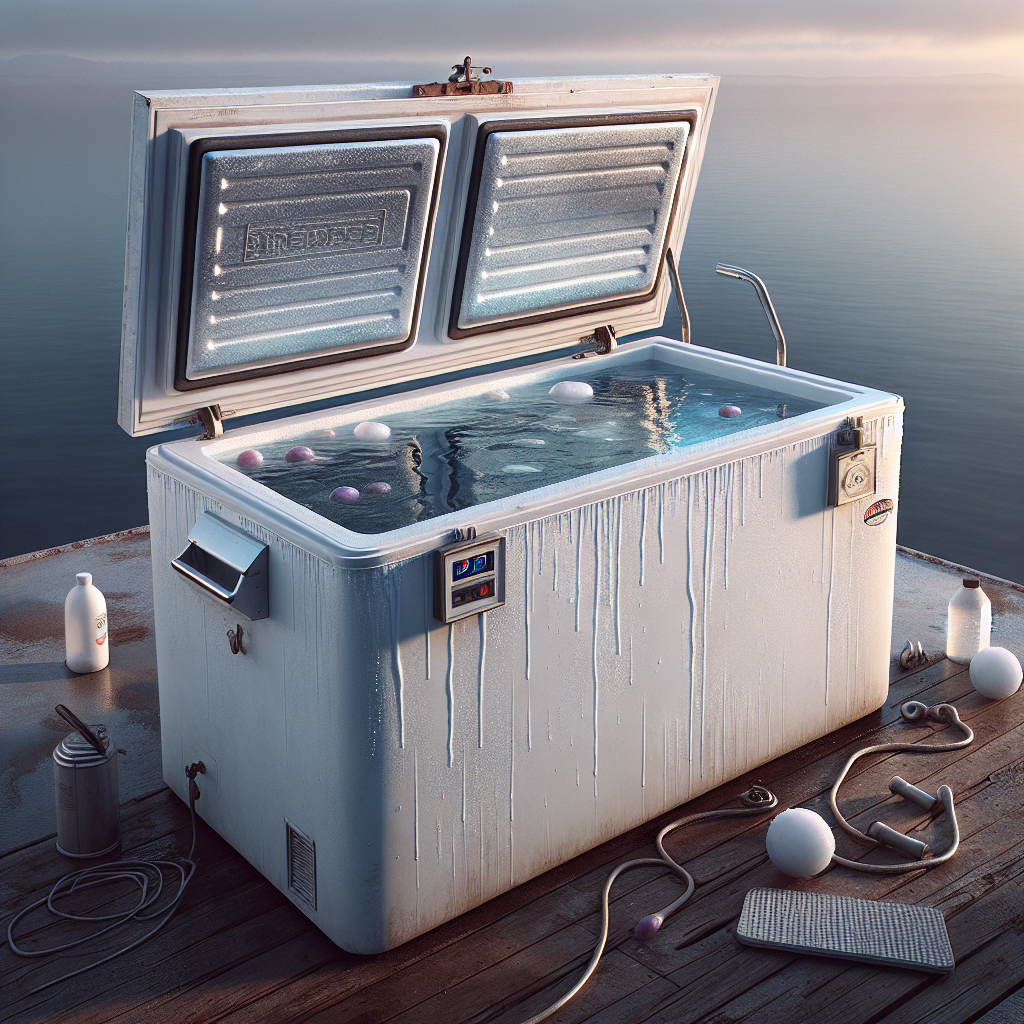
The integrity of your cold therapy at home device heavily relies on sealing your chosen chest freezer properly. This step is crucial to prevent water leaks and ensure longevity.
Choosing the Right Placement for The Freezer
Now, where do you place this soon-to-be hydrotherapy from home setup?
Temperature Control in Your DIY Cold Plunge
Creating thermal shock treatment at home involves controlling the temperature of your cold plunge setup. For this, you will need to connect your freezer to a timer.
Installation of Filtration System for Clean Water
In any case, nobody wants to sit in murky water! For maintaining clean water in your DIY cryotherapy chamber, installing a continuous filtration and sanitization system becomes crucial.
Safety Precautions while Making a Cold Plunge from a Freezer
All things considered, safety should never be compromised. You’ll be dealing with both electricity and water during this process.
Adding Insulation To Your Chest-Freezer-Based Cold Plunge
To make your cold plunge more comfortable, consider adding insulation to the walls of your chest freezer. This will not only keep the temperature steady but also adds a layer of safety.
Maintenance and Cleaning of Your DIY Cold Plunge
Your cold plunge won’t be a one-time thing. If you want to integrate this into your routine wellness activities, then regular cleaning becomes essential.
Making a cold plunge from a freezer is an interesting DIY project. However, if you’re new to the concept of cold plunges, you might be wondering how long you can stay in a cold plunge. It’s important to start slow and gradually increase your time in the water.
Understanding the appropriate temperature for a cold plunge is another crucial aspect. The temperature should be low enough to give you the therapeutic benefits without causing discomfort or harm.
Many think that having a cold shower can replace taking a cold plunge. While there are some similarities, there are also key differences that make each of these practices unique and beneficial in their own ways.
When transforming your freezer into a cold plunge pool, understanding what type of chiller does it use is essential for maintaining ideal temperatures consistently. Check out this post on what chiller does the cold plunge use for more information.
Lastly, in terms of duration, understanding how long should one stay submerged in icy water is vital. You’ll find insightful guidance on this topic by visiting this page abouthow long is a cold plunge, which not only discusses time frames but also provides safety tips!
My Personal Take about How to make Cold Plunge from Freezer
Hey there, buddy! I’m George, your go-to expert in the world of relaxing saunas and invigorating cold plunges.
Did you know, I’ve just published a new blog post on “How to Make Cold Plunge from Freezer: A Step-by-Step DIY Guide”? Now that I think about it, it’s perfect for those seeking a bit of adventurous wellness right at home.
In any case, believe me when I say that nothing compares to the rejuvenation of quietly basking in a sauna’s warmth followed by the exhilarating shock of a cold plunge. Words of advice? Give it a whirl! You see, once you’ve experienced this energizing cycle, you’ll wonder why you haven’t incorporated it into your routine sooner. So here’s looking at a healthier and happier you!
Our #1 Best Recommended Cold Plunge for most People
Creating a cold plunge at home using your freezer is easier than you might think. If you’re interested in a standalone option, then our ColdLife Plunge is perfect for you. Alternatively, for a more comprehensive setup, check out the Cold Life Plunge Bundle that includes everything you need to enjoy the benefits of cold plunging at home.Discover the unparalleled benefits of cold immersion with ColdLife Plunge 1. Unleash your full potential with our innovative cold plunging solution. Explore the transformative effects on your body and mind. Elevate your lifestyle with ColdLife Plunge 1 today!
Frequently Asked Questions about How to make Cold Plunge from Freezer
How can I make sure my DIY cold plunge is safe?
Make sure to follow all safety precautions, such as unplugging the freezer before getting inside, and regularly maintaining and cleaning the setup.
What temperature should I set my chest freezer for a cold plunge?
Aim for a temperature of around 35 degrees Fahrenheit for the optimal cold plunging experience.
Do I need to install a filtration system in my DIY cold plunge?
Yes, installing a filtration system is essential to keep the water clean and free from debris.
Can I use any type of sealant to seal my chest freezer for the cold plunge?
You should use appropriate sealants like Seam Epoxy or Pond Shield after sanding down the surface for better adhesion.
How do I choose the right chest freezer for my DIY cold plunge?
Select a chest freezer based on your needs and budget. You can find one online or purchase second hand from platforms like Craigslist.
Is it necessary to add insulation to my DIY cold plunge setup?
To improve comfort and safety, it’s recommended to add insulation around the walls of your chest freezer setup.
Now you know How to make Cold Plunge from Freezer , but that’s only the beginning of your journey here at Sweat N Chill Zone. If you found this post useful there’s more to learn to get you to the next step of your sauna & cold plunge journey. If you read our next articles you’ll be a step further than most people.
Before you go…
Takeaway 1: Choose the Right Freezer
Finding the perfect chest freezer for your cold plunge setup is key. Whether you’re scouring online marketplaces or hitting up garage sales, make sure it fits your needs and budget. Remember, a little research goes a long way when it comes to selecting the right freezer for your DIY project.Takeaway 2: Seal it Tight
Sealing your freezer properly is essential to avoid any leaks and keep your cold plunge in top shape. Don’t forget to sand it down before applying sealants like Seam Epoxy or Pond Shield for that extra layer of protection. A little elbow grease now will save you headaches later on.Takeaway 3: Safety First, Always
When dealing with water and electricity, safety should be your top priority. Make sure to unplug the freezer before hopping in for a dip and follow all safety guidelines diligently. It’s all fun and games until someone gets electrocuted, so take those precautions seriously. Remember, creating a DIY cold plunge doesn’t have to be rocket science. By following these steps carefully and implementing some common sense safety measures, you’ll have an efficient and safe ice bath setup in no time. Understanding the cold plunge transformation is crucial before getting into specifics such as the best cold plunge temperature. Once you know these, explore the best way to start cold plunging and discover various ways to cold plunge, understanding its impact on free radicals in your body.
George From Sweat N Chill Zone
George, the passionate founder of Sweat N Chill Zone, is an ardent advocate for holistic wellness through the healing powers of saunas and cold plunges. With a background in health sciences and a fervent dedication to sharing the benefits of thermal therapy, George curates an informative space, offering insights, tips, and expert advice to help individuals optimize their health and well-being through the transformative effects of heat and cold treatments. Through Sweat N Chill Zone, George aims to inspire and educate, fostering a community centered around rejuvenation and vitality.
Download this courtesy guide to optimize your sauna and cold plunge experience and health optimization.
Download the Free Guide Today